How to Host a Candle Making Workshop
Plan a candle making workshop with a clear first project, heat-aware room flow, material details, realistic capacity, and an honest RSVP page.
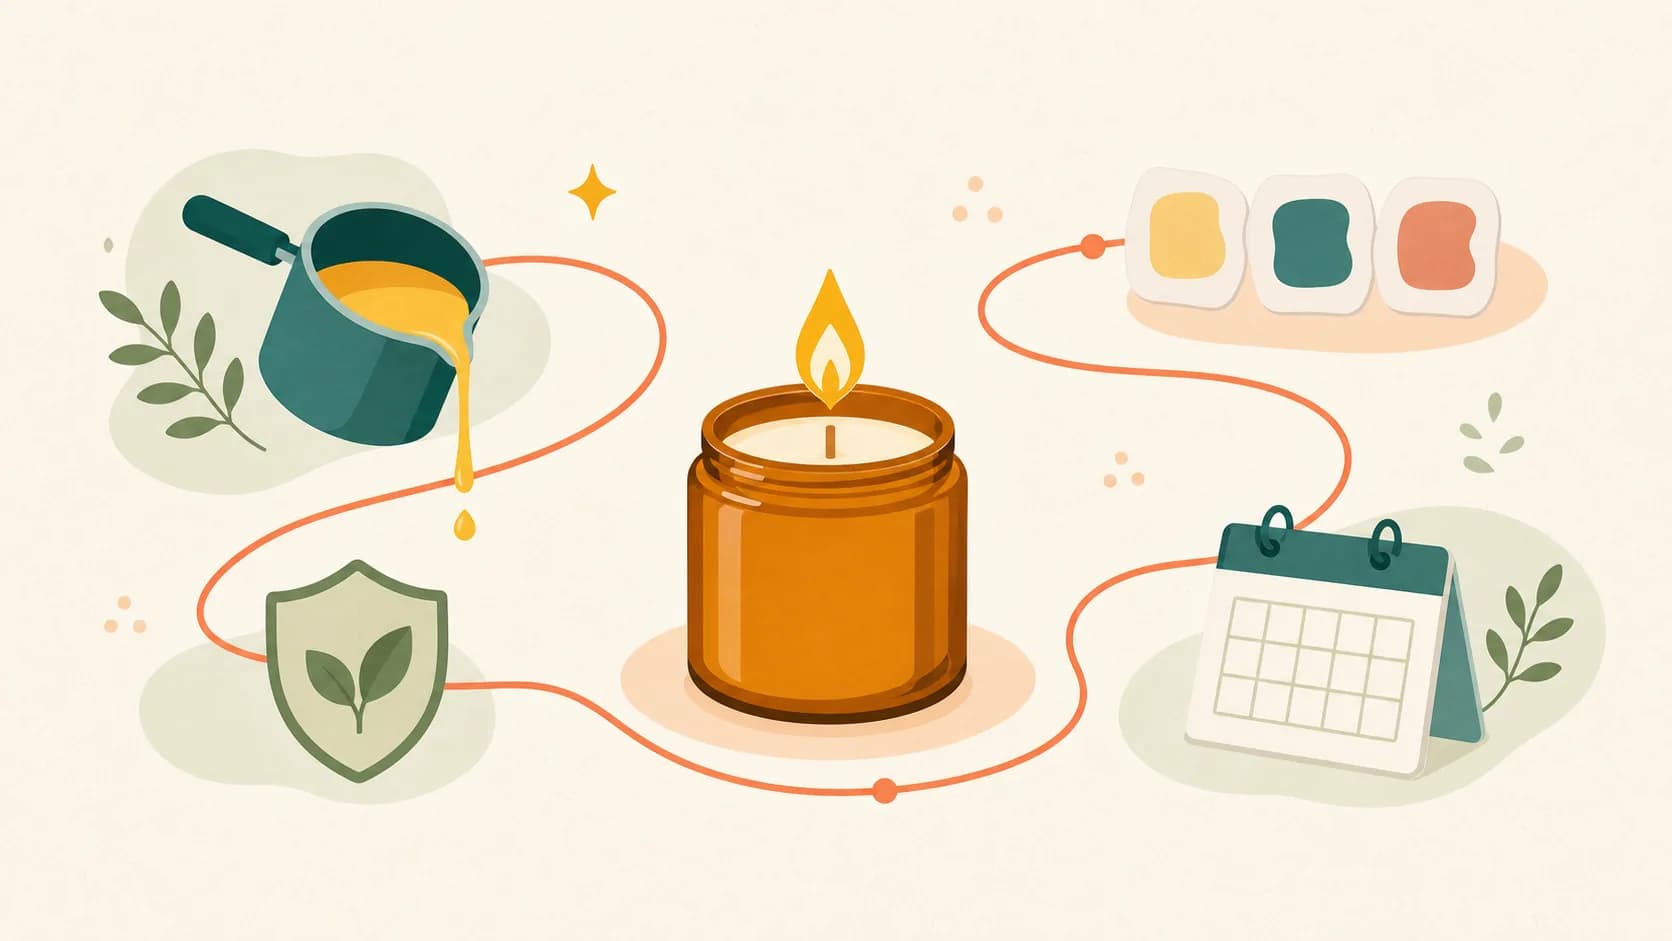
A candle making workshop does not become hostable just because the jars and wax arrive and registration opens. It becomes hostable when a first-time guest can tell what they will make, what the room will ask of them, what is included, and what happens after the pour. A clear workshop promise ties station flow, material information, capacity, and RSVP details to that same real experience.
Start smaller than the version in your head. A clear first project, resettable room, and honest pickup plan serve guests better than more fragrance choices or an overfilled table. Treat the first session as a real event and a test of a repeatable format.
What Makes a Candle Workshop Easy to Join?
- Name one candle format, a real making window, the material boundary, and the pickup plan.
- Design the room around the active making process, not the maximum number of chairs it can hold.
- Put confirmed material, access, and contact details on the public page before RSVP.
- Use the first workshop to improve one guest-facing detail before you add more options.
Define the Candle Guests Will Actually Make
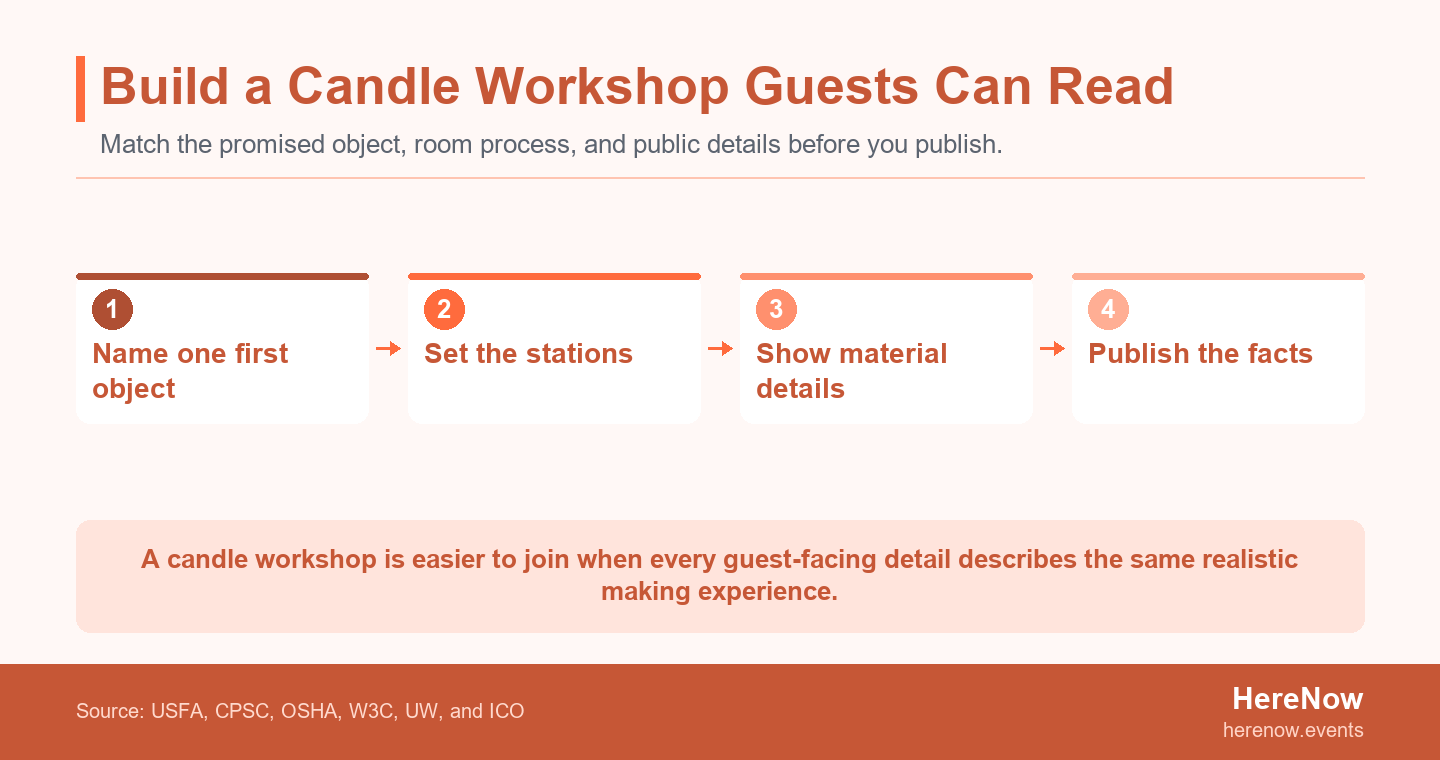
Begin with one outcome a newcomer can picture. That might be a single container candle in a named vessel, with one measured fragrance choice and a simple label. It should not be "make your own signature candle" if the room, time, or material set does not support that much choice. The title, short description, and public page should name the object, the intended experience level, what is included, and any confirmed collection plan.
The first promise is also where you protect the event from the wrong expectations. A host is offering a guided making session, not a private production service, a chemistry class, or a guarantee that every finished candle will look or perform identically. A usable workshop promise lets a guest see how station flow, material information, capacity, and RSVP details will work together before they commit. For a useful page starting point, Browse event templates.
Limit the First Session to One Finishable Object
A first candle workshop works best when the advertised object can be finished within the actual teaching and cooling window. That does not mean every guest needs the same taste. It means the choices have a boundary: one vessel family, a limited material palette, and a pace the host can explain before a station becomes active. If a detail cannot be taught, checked, and reset without rushing the next person, it belongs in a later workshop rather than the first public promise.
Write down the sequence as a guest sees it: arrival, orientation, material choice, making step, cooling or collection detail, and close. This short sequence becomes more useful than a long supply list because it exposes the moments where a guest may be waiting, deciding, or asking for help.
Design the Room for Heat, Hands, and Conversation
The U.S. Fire Administration's candle fire safety guidance says lit candles should use stable holders, remain away from combustible materials, and be extinguished when people leave the room. The National Fire Protection Association describes a candle as an open flame and says to use a sturdy holder on an uncluttered surface. A workshop host should translate that narrow principle into an operational question before publishing: which activity involves heat or flame, who manages it, and where can guests stand without crossing the active work area?
Do not treat the room as a backdrop. Walk the entry route, tables, power source, ventilation arrangement, water point, exits, and a place for personal items. Confirm what the venue allows and what the instructor or maker will handle. This is not a legal or safety certification. It is a way to avoid promising a casual drop-in experience when the actual room needs a short orientation and a defined making order.
Separate Melt, Pour, and Cool Zones
Guests relax when they can see where the next action happens. Use one clear area for any active heat or equipment, a separate place for supervised pouring, and a stable cooling or collection area that people do not need to reach across. Keep personal bags, coats, and food away from active work surfaces. Mark the guest waiting point without making it feel like a queue at a factory; a simple welcome table or choice card can do the job.
The host should also decide who answers questions at each point. In a small class, the same person may introduce the room, guide the choice, and manage the next station. In a larger room, a second helper may be more useful than more seats. The practical rule is simple: do not add another guest if doing so makes the active step hard to see or the next question hard to answer. Use event feedback for the next session.
Choose Materials With a Real Information Trail
The U.S. Consumer Product Safety Commission's candle guidance identifies fire-safety labeling, container, wick, and accessory standards relevant to candle products. It does not tell a small host exactly how to run every workshop. It is a useful reminder that the materials and containers are not decorative details: keep supplier information, labels, and the exact product choices connected to the workshop plan.
Buy and prepare materials for one format before you expand choices. Record the vessel, wax, wick, fragrance option, color option, label, and any tools that guests will handle. Then decide which details belong in the public invitation. Guests normally need to know what is included, whether the experience involves fragrance, whether they may need to collect a cooled item later, and who to contact with a practical question. They do not need a supplier catalog pasted into the event description.
Make the Material List Visible Before RSVP
A Safety Data Sheet is a supplier document that identifies a product and communicates relevant hazard and handling information. OSHA explains the information carried in Safety Data Sheets, including product identification, hazards, safe handling, and fire-fighting information for hazardous chemical products. The European Chemicals Agency explains that an SDS contains information about a chemical substance or mixture, including hazards and advice on safe use at work. For a host, the immediate practice is modest: keep supplier material information available to the people running the session and do not replace it with a vague claim that every product is suitable for every person or use.
On the event page, use direct language. Say what the workshop supplies, whether fragrance choices are part of the format, what guests should wear or bring, and whether they will leave with an item or receive a collection update. If a guest has a specific concern, provide a way to ask before RSVP rather than inviting them to disclose more than the event needs.
Build an Agenda That Protects the Making Time
A first session needs a visible beginning, middle, and close. The beginning introduces the host, the object, the room, and the next step. The middle handles the choices and supervised making sequence. The close explains the cooling, collection, photo, and follow-up boundary. Do not use all of the early minutes for a long brand story; guests came to make something and need to understand how the process will move.
A useful two-hour outline can reserve time for arrival and material orientation, one choice moment, a paced active making period, a clear cooling or collection explanation, and a calm close. In practice, the exact minutes matter less than protecting the active making time from avoidable delays. The host should be able to explain what happens when one station finishes before another, and what guests can do while an item is not ready to move.
Teach One Decision at a Time
New makers do not need every option explained at once. Introduce the decision that matters at the current station, then give guests a simple way to choose. For example, select a scent before the active pour area, explain the vessel when the place is set, and leave label choices until the object is stable. This order reduces the chance that guests are holding a question while the host is already answering the next person's question.
Keep the language concrete. Instead of saying "take creative control," show what is available now, what can be decided later, and which parts of the format are fixed. A calm, specific instruction helps a newcomer participate without pretending they have prior craft knowledge.
Set Capacity From the Instruction You Can See
Capacity is an instruction decision: every additional participant changes the host ability to see, answer, and reset the making stations. Start with the number of complete stations, not the number of people who can fit around a table. Then reduce it if the entry route, active work zone, cooling space, or host attention is not equally clear for every place. For the broader product fit, See HereNow for independent hosts who are building a repeatable workshop format.
Use the first session to learn what needs more time. Record where questions cluster, where equipment collects, and whether people can move through the room without interrupting a live step. A smaller first capacity is not an admission that the event is unready. It is a way to learn the real operating pace before you make a larger invitation.
Start Lower Than the Room Can Hold
A station reset is the short step of clearing and preparing a work place for the next maker. Build it into the plan before you publish a capacity. Consider how a guest arrives, puts down belongings, makes a choice, joins the next step, asks for help, and leaves with clear directions. If any of those actions force someone through an active area or past another guest's work, the room is telling you to start smaller.
Do not publish a universal class-size rule. A twelve-seat room may be right for one tightly scoped format and too large for another. Choose the number from the host's ability to observe the active process and from the actual layout. Adjust only after the first room gives you evidence, rather than treating RSVPs as proof that the station plan will work.
Make the Public Page Answer the Real Questions
The W3C checklist for accessible events asks organizers to plan for diverse access needs and communicate information in clear, understandable formats. For U.S. online registration, Department of Justice guidance notes that inaccessible web features can limit access to an event registration form. Use that as a practical writing standard: publish only confirmed venue directions, timing, what is included, what guests can expect to make, and a way to ask a focused question before RSVP.
HereNow helps a host put these facts on an event page and collect RSVPs without attendee accounts. That is useful when a guest wants to decide quickly but the host still needs a reliable response count for tables and materials. The public page is not the place to invent a universal comfort or accessibility promise. It is the place to describe the confirmed route, room, materials, and contact path.
Add Access and Contact Details Without Guessing
The University of Washington's event guidance recommends including pertinent information and an accommodation notice or contact path in invitations. For a small workshop, that means checking the actual entrance, seating or standing arrangement, restroom information, and any part of the room a guest will need to reach. If you do not know whether a detail will work for a particular person, do not imply that you do. Offer one clear contact route instead.
Keep the request focused and private. Ask for only the information you need to respond to a practical event question. Confirm what you can provide with the venue or relevant supplier before promising it on the page. A direct answer is more respectful than a broad reassurance that the room cannot support.
Treat Photos, Personal Details, and Follow-Up as Separate Choices
The UK Information Commissioner's Office describes data minimisation as collecting personal data that is adequate, relevant, and limited to what is necessary for the stated purpose. The host application is straightforward: collect the RSVP information needed to run this workshop, explain why a field is being requested, and do not treat attendance as consent to unrelated marketing or image use.
Decide before the event whether you will take photos, whether a guest may opt out, and what one follow-up message will contain. It might be a pickup update, a short thank-you, or a next-session invitation. Keep the message tied to the event people joined. That gives the host one considerate next touchpoint. Get the post-event follow-up plan.
Illustrative Example: A 12-Seat Candle Workshop Finds Its Real Pace
Illustrative example: An independent maker hosts a 12-seat introductory candle workshop in a shared studio. The host has one vessel, a limited fragrance palette, a defined material set, and a public page that includes guidance, materials, and a later collection update if needed.
The order is a two-hour introductory container-candle session in a shared studio, designed as a first public run with an arrival window, one supervised pour sequence, and a documented pickup update rather than a free-form studio session.
The host has a confirmed studio, 12 table places, and a limited material set; the first room is ready, but the sequence is not yet proven for 10 guests in the illustrative first session.
Guests finish choosing fragrance while the first pour station is already waiting.
Several people ask whether they can take their candle home before the host has explained the cooling plan.
Those observations reveal an expectation and sequencing gap, not a lack of interest in the workshop. The fragrance choice belongs before the active station, and the collection expectation needs to appear earlier on the page.
The decision is to keep the 12 places, move scent selection to an arrival card, and state whether collection details will follow.
For the next session, the host adds an arrival scent-selection card and states the pickup or follow-up plan before RSVP, while keeping the format and capacity stable.
At the next session, the host checks whether guests ask the same two questions before the making step begins.
The example does not assess chemical suitability, fire safety, or a finished-product outcome. It only shows how one observed bottleneck can improve the next event page and room flow. For adjacent operating decisions, Explore host guides.
Turn the Workshop Plan Into a Clear Event Page
Once you have a bounded first object, confirmed room details, realistic capacity, and a pickup expectation, HereNow gives a host a route to create an event page and collect RSVPs without requiring attendees to create an account. Put the facts you have verified into the title, description, timing, location, materials section, and RSVP flow. Leave out claims you cannot support with the actual venue, supplier information, or workshop process.
Before you publish, read the page as a newcomer rather than as the maker who already knows the plan. Can someone tell whether this is their kind of activity, what they will make, what is included, where to arrive, and whether they should expect a later collection update? Then read it as the person running the room: does every detail match the stations, material choices, capacity, and contact path you can genuinely support? If an answer is vague, correct the page before you add more seats or another option. Check that the confirmation message, arrival instructions, and collection note repeat the same promise, so a guest does not discover a different process after RSVP. That final review keeps the invitation useful for guests and manageable for the host.
Make the first version useful rather than ornate. A guest should be able to decide whether this workshop is for them before they ask a private question. Use the first session to learn which detail will make the second one clearer. Start your candle workshop event page.
Frequently Asked Questions
How long should a candle making workshop be?
Choose a session length that leaves enough room for setup, a supervised making process, cooling, and a calm close for every guest. The best duration depends on the actual object, materials, venue, and what guests can realistically take home or collect later. Build the agenda around the active making window first, then add arrival and closing time around it. Do not publish a duration that only works when every choice and station runs perfectly.
Can guests take candles home the same day?
Only promise same-day pickup when the exact material, vessel, cure plan, and session timing make that realistic. If the workshop needs a later collection step, say so before RSVP and explain how guests will receive the update. A clear collection plan is more useful than a vague claim that the candle will be ready. Keep the promise specific to the format you have tested.
How many people should attend a first candle workshop?
Start with the number of stations you can genuinely see, support, and reset during the active making window. Count the entry route, guest belongings, question moments, cooling space, and the host or helper attention needed at each point. There is no universal number for every room. Use the first session to observe where the process slows, then adjust the next capacity from that evidence.
What should guests know before they RSVP?
Tell guests what they will make, what is included, what they may need to bring, and any confirmed pickup, access, or contact details. Use plain language for the level, timing, location, and material boundary. If someone needs a specific answer, give them a clear way to ask before RSVP. The public page should help people make an informed event decision without requiring them to guess what the room will be like.