How to Plan a Small Event in One Week
A one-week planning path for turning a small event idea into a publishable page, reminder schedule, and calm room plan.

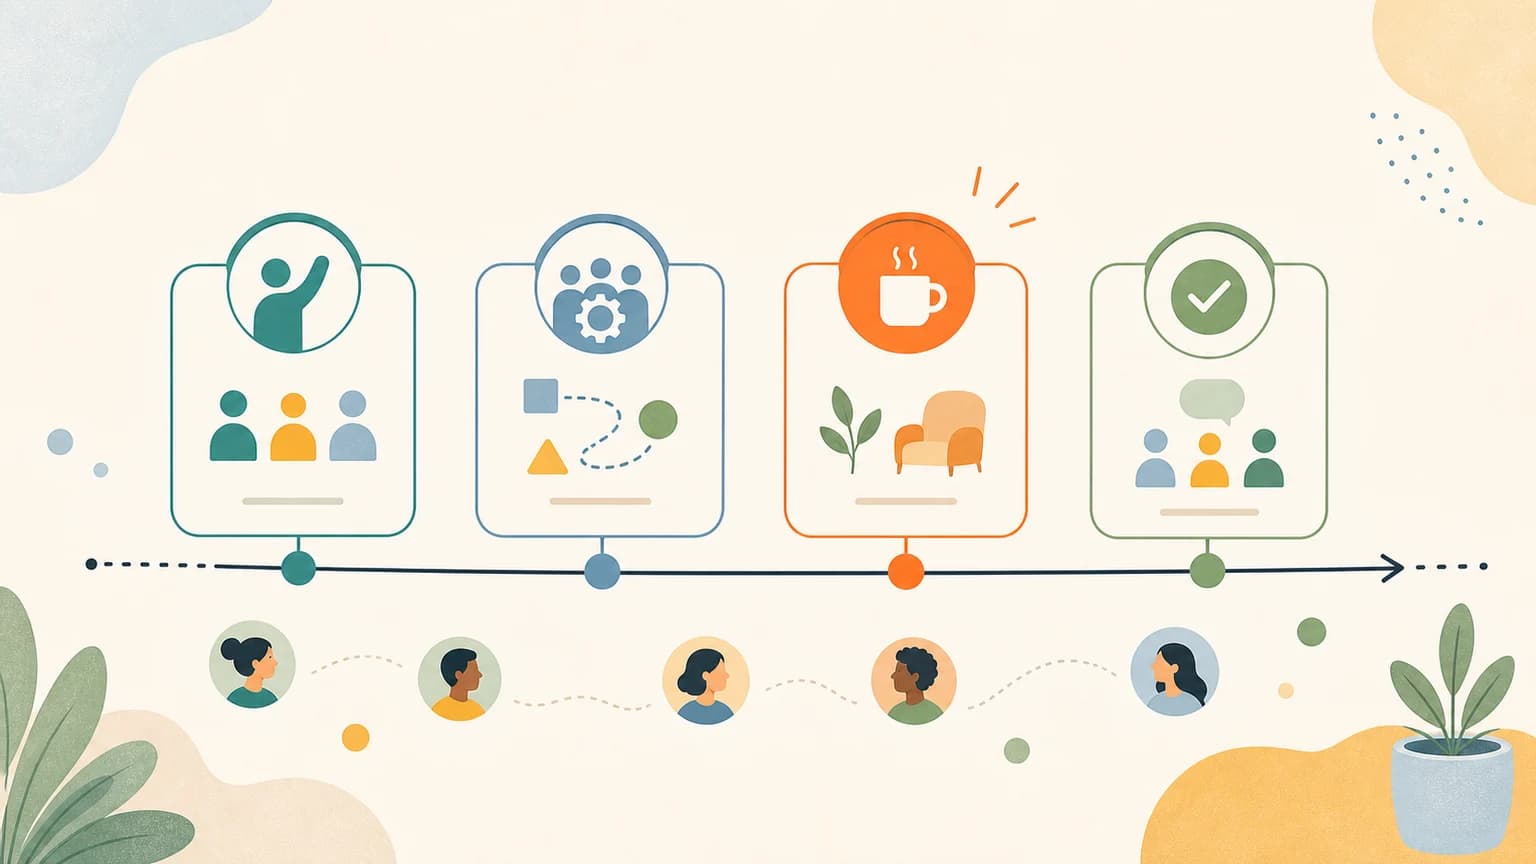
You can plan a small event in one week when the event is low-complexity, the promise is narrow, the venue or online room is realistic, and the registration path is simple. The seven-day goal is not to create a perfect brand or a large production. It is to turn a clear idea into a trustworthy page, invite the first guests, confirm essential logistics, write a run sheet, and host a first version you can learn from.
Key Takeaways
- Use a one-week timeline only for events with low operational, safety, vendor, and venue complexity.
- Make the event real on day one by locking the audience, promise, date, location, capacity, and registration method.
- Publish the event page by day two or three so the week includes real guest commitment, not private planning only.
- Use the middle of the week to answer uncertainty: access, arrival, materials, food, accessibility, and preparation.
- Write a private run sheet before event day so the room does not depend on memory.
- Follow up within 24 hours and convert what you learned into the next page or format.
Decide Whether One Week Is Responsible
A one-week plan works for small workshops, salons, book clubs, tasting sessions, peer discussions, beginner classes, local walks, and low-risk community gatherings. It is usually wrong for events that need permits, complex safety planning, large deposits, contractors, alcohol licensing, travel, sponsorship commitments, or a public crowd you cannot reasonably manage. The short timeline is a forcing function, not permission to skip judgment.
Use the one-week plan when the risk is low and the scope is narrow
Before you choose the date, ask what could realistically break. The UK Health and Safety Executive's event safety guidance frames event safety around planning, managing, and reviewing an event once it is over. That is useful even for a small host because it keeps the conversation practical: What space are you responsible for? Who is attending? What equipment, movement, food, weather, access, or crowd behavior could matter? If the answer creates a long dependency chain, do not squeeze it into one week. If the main blocker is hesitation, not logistics, the one-week plan can work well.
The first constraint is guest commitment, not your task list
Many hosts overestimate how much can be solved privately and underestimate how long people need to decide. If you publish on day six for a day-seven event, you have not planned a one-week event; you have planned a last-minute announcement. The page should be live by day two or three so guests have time to read, ask, register, and make room in their schedule. Your private checklist matters, but a small event becomes real only when someone else can make a confident decision. The timeline should protect that decision window.
The Seven-Day Plan at a Glance
| Day | Main decision | Output | Failure to avoid |
|---|---|---|---|
| Day 1 | Define the event | Audience, promise, date, location, capacity, and price or free RSVP | Keeping the event as an abstract idea |
| Day 2 | Build the page | Title, description, agenda, logistics, registration action | Waiting for perfect copy before publishing |
| Day 3 | Invite the first guests | Short personal message and shareable event link | Depending only on a broad social post |
| Day 4 | Confirm logistics | Venue, access, materials, food, arrival, attendee list | Assuming the room will solve itself |
| Day 5 | Reduce uncertainty | FAQ updates, prep notes, clearer registration questions | Answering the same questions one by one |
| Day 6 | Write the run sheet | Setup tasks, timing, transitions, close, backup notes | Relying on memory during the event |
| Day 7 | Host and learn | Run the event, follow up, record lessons | Finishing without capturing the next improvement |
Day 1: Make the Event Real
Day one is for decisions, not decoration. Write one sentence that defines the event: "A two-hour beginner pottery workshop where guests make one small dish and learn the basic hand-building steps." Then lock the date, time, place, capacity, registration method, and whether the event is free or paid. The point is to create a shape that can be published, questioned, and improved.
The promise should be specific enough to reject extra ideas
A useful promise does two jobs. It helps the guest understand the event, and it helps the host say no to distractions. If the promise is "a beginner-friendly tea tasting where guests compare three oolong styles," you do not need to add tea history, a meditation circle, a vendor marketplace, or a full food pairing. That discipline protects the one-week timeline. It also makes the event easier to evaluate afterward because you can ask whether the room delivered the promise rather than whether every possible idea was included. Narrow scope is what makes speed responsible.
Capacity should match the weakest part of the plan
Do not choose capacity by asking how many people you hope will come. Choose it by asking where the plan is most fragile. If the space is small, the materials are limited, or the activity needs one-to-one help, keep capacity lower. If the event is a discussion, ask how many voices can participate before the room becomes passive. If the event is paid, remember that more people also means more expectations. For a one-week event, a smaller, reliable room is usually better than a larger room that requires untested operations.
Day 2: Build the Event Page
By the end of day two, the page should be good enough for a real person to decide. It does not need perfect phrasing, but it must answer the practical questions: what it is, who it is for, when and where it happens, what guests will do, what is included, how many spots are available, and how to register. If you are using HereNow, you can create an event from a rough idea and then edit the generated title, description, agenda, capacity, and registration details.
The page is a scope-control tool
Writing the page exposes weak planning. If the audience section is vague, the event is probably not positioned. If the agenda is hard to write, the format is not ready. If the registration action feels premature, you may not have enough logistics locked. This is why publishing early helps. Plain language guidance from Digital.gov emphasizes writing for a specific audience so people can understand what matters to them. Apply that same standard to your event page: a guest should not need to decode your creative intention before understanding the invitation.
Scannable details lower the decision cost
Guests often scan before they commit. Nielsen Norman Group's research on web reading shows why pages need meaningful headings, short sections, and concrete cues. For an event page, the scannable details are not decorative. They are the trust signals: beginner-friendly, supplies included, nearest transit, limited to 10 guests, no previous experience required, bring a notebook, event is indoors, or message us about access needs. Put these details where people can see them, not buried in a poetic paragraph below the signup action. The faster the timeline, the more visible the essentials need to be.
Day 3: Invite the First Guests Personally
A small event rarely fills because a host posts one generic announcement. It fills when the right people understand why the event fits them. On day three, make a short invitation list: people who have asked about the topic, past clients, friends of friends, local community members, students, peers, or people who trust your taste. Then send a message that explains the fit and points to the page.
The invitation should not repeat the whole page
Use the message to create relevance, not to deliver every detail. A good version sounds like: "I am hosting a small beginner workshop next Saturday for people who want to try hand-poured candles without buying supplies first. I thought of you because you mentioned wanting a low-pressure creative afternoon. The page has the agenda and RSVP details." The page carries the logistics; the message carries the personal reason. This keeps the invitation generous instead of pushy. It also keeps replies focused, because people can ask about their own fit instead of basic event facts.
Use early replies to improve the public page
If two people ask the same question, the page is missing an answer. Add it. If someone asks whether beginners are welcome, make that sentence more visible. If they ask about parking, arrival, dietary needs, accessibility, materials, timing, or whether a friend can come, treat the question as page feedback. The week gets easier when you convert private questions into public clarity. You are not only promoting the event; you are testing whether the page supports the decision people are trying to make. Each edit should reduce the next avoidable message.
Days 4 and 5: Confirm Logistics and Remove Uncertainty
The middle of the week is where the plan becomes operational. Confirm the venue or online room, materials, setup time, arrival instructions, guest list, capacity, payment or RSVP state, and any information guests need before coming. These are not background tasks. They are the details that prevent no-shows, confusion, and last-minute stress.
Accessibility belongs in the planning week, not only in the FAQ
Harvard's accessibility guidance for meetings and events recommends planning accessibility in advance, including access-related costs as part of the event plan. For an independent host, that means checking the entrance, seating, restroom access, noise level, lighting, scent, food, movement, and how guests can ask for help. If something is limited, say so clearly and early. Accessibility is not only a legal or institutional topic; it is part of guest confidence. The event page should help people decide whether the room works for them before they register, not after they arrive.
The registration list should guide preparation
Use day four or five to review what you know about confirmed guests. Do you have enough materials? Are there dietary or access notes? Does the room size still match the number of RSVPs? Do you need a reminder or prep note? The W3C forms tutorial advises asking only for information required to complete the process. That is a helpful test: if you asked for an answer, use it. HereNow's Help Center explains how hosts can manage registrations and export attendee data for operations, which is useful when you need a clean day-of list.
Day 6: Write the Run Sheet
The run sheet is the private operating version of the event. It is more detailed than the public agenda because it includes setup, transitions, materials, backup notes, and cleanup. A calm host is rarely calm by accident; they have reduced the number of decisions that must be made in the room.
Build the run sheet around transitions
Write the transitions first: when guests arrive, when the event formally begins, when the main activity starts, when the room shifts to questions, when you close, and when cleanup begins. OPM plain language guidance recommends strong organization, short sections, headings, and tables because structure helps readers understand complex information. A run sheet benefits from the same idea. Put the event into a table with time, host action, guest experience, material, and risk note. The table will show where you are overloading the same 10-minute block with too many tasks or unclear ownership.
Keep the public agenda simpler than the run sheet
Guests do not need to see every setup detail, but they do need to understand the experience. A public agenda might say "welcome, demo, hands-on making, questions, close." The run sheet might include opening doors, checking the RSVP list, setting out supplies, testing audio, noting allergy labels, preparing cleanup bags, and sending the follow-up link. If you need help deciding what belongs on the page versus in your private notes, the related guide on how to create an event agenda walks through that split. Keep backstage complexity backstage, but make the guest journey visible.
Day 7: Host, Follow Up, and Capture the Lesson
On event day, follow the run sheet but stay responsive. The goal is not robotic timing; it is a room where people know what is happening, what to do next, and how to participate. If something changes, tell guests simply. If a block runs long, protect the close. A rushed ending makes even a good event feel unfinished.
After the event, follow up within 24 hours. Thank guests, share any promised resources, and ask one short feedback question if feedback will actually change the next version. Then write down the operating lesson: what took longer than expected, what questions repeated, which guest type fit best, what should be removed, and what would make the next page clearer. The one-week event becomes a repeatable format only if you convert the first room into better decisions.
Build the One-Week Event Page in HereNow
HereNow helps hosts turn rough event ideas into editable public pages with titles, descriptions, agendas, RSVP settings, and shareable links. Start from event templates if you want a familiar format, or use the AI creation flow when you have a rough idea but not a polished page. Before sharing, use the Help Center guide to preview and publish your event page, then keep improving the page as real questions come in.
FAQ
Can I really plan an event in one week?
Yes, if the event is small, low-risk, and operationally simple. A one-week timeline works for beginner workshops, clubs, discussions, tastings, small classes, and community gatherings when the venue, capacity, materials, and registration path are manageable. It is not responsible for events that require permits, complex vendor coordination, large deposits, serious safety planning, or a large public crowd.
What should I decide first?
Decide the audience, promise, date, time, location, capacity, and registration method first. These decisions make the event real enough to publish and invite people. Copy, visuals, and promotion are easier after the core shape is fixed. If those first decisions keep changing, the event is probably still an idea rather than a hostable plan.
When should I publish the event page?
For a one-week event, publish a reliable page by day two or three. It can still improve after that, but the essentials should be clear enough for guests to decide. Publishing late leaves too little time for people to ask questions, make plans, register, and invite someone else. The page is also how you discover missing details early.
How should I promote a one-week event?
Start with personal invitations to people who are likely to understand the event. Send a short message that explains why it may fit them and link to the event page for details. Broad social posts can support the invitation, but for a small first event, direct outreach is usually more useful than trying to sound viral.
What if only a few people register?
A few registrations can still produce a useful event if the format works at that size and guests know what to expect. If the number is too low for the experience, adjust the format, postpone, or be transparent with guests. Do not treat low registration as failure by default; treat it as signal about the offer, audience, timing, invite list, or page clarity.